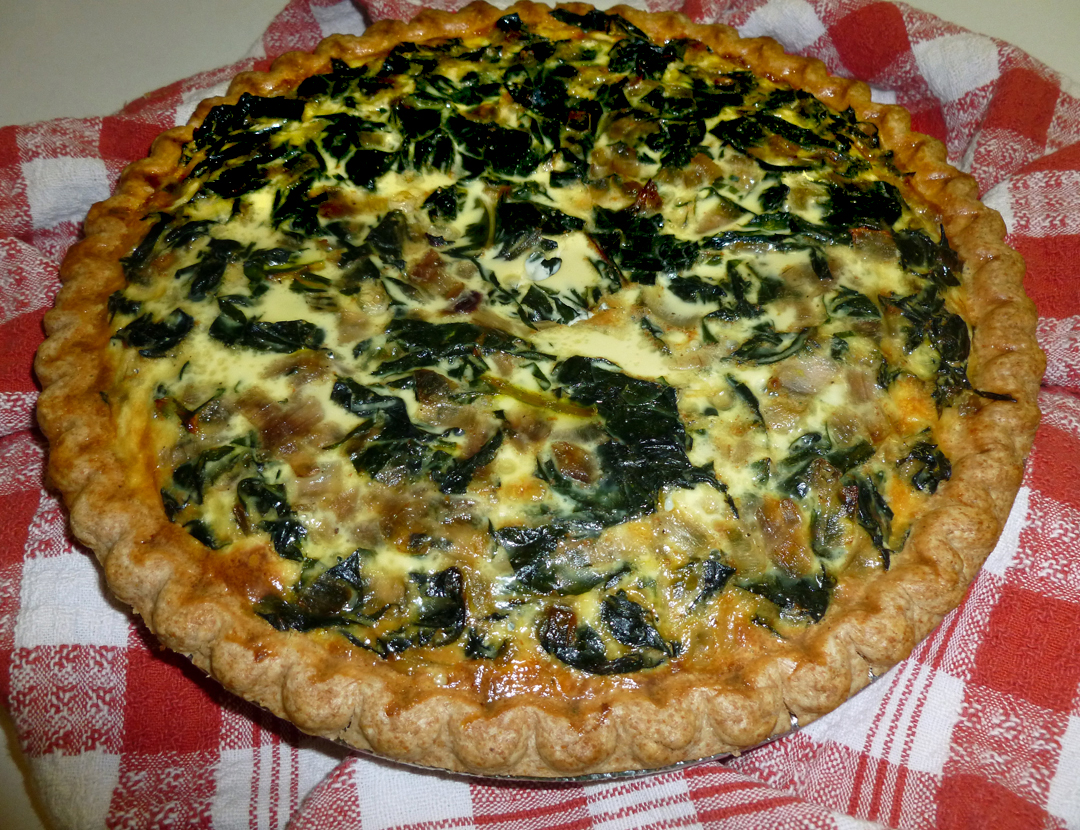
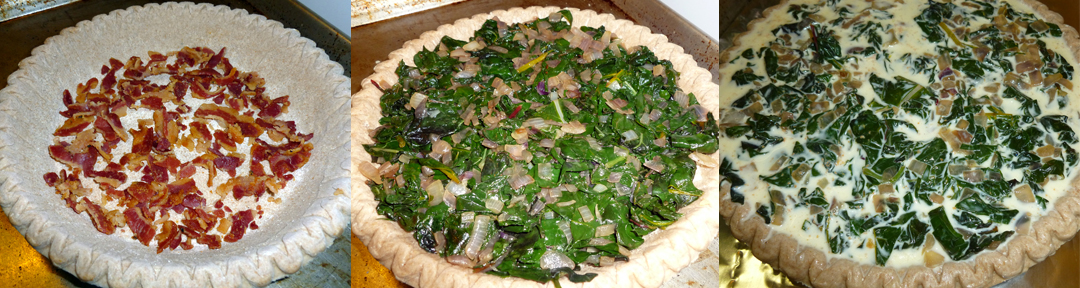
Warning! I don’t have a new recipe post for you today. But I hope you’ll stay, indulge me and read on. Yes, this is the answer post to the teaser at the end of the Spinach, Cheese and Phyllo Tart alluding to new adventures. It all started here:
*****
Many years ago, I decided to take a class in pottery at our local and very wonderful Callanwolde Fine Arts Center. I had taken one clay class in college and didn’t enjoy it, but thought perhaps my perspective might have changed after being out in the real world for a while, so I was willing to give it another go. Little could I have known then how deeply that decision would impact my life. It led to a love and pursuit of clay for 15 years, and the forging some life-long friendships along the way. And then strangely, in some ways it led me back to painting watercolors, then to gardening, then developing even more of an interest in food and cooking, and then to this blog.
I first approached clay because I thought it would be a fun way to provide some much needed physical and creative release from a pretty stressful business. Pounding clay is great therapy, and working sculpturally was a wonderful way to gain perspective on what I did every day in a more two-dimensional world.
Clay is dirt. Mud, in fact. No doubt about it. It’s primeval. It’s grounding. It’s been the material of choice for hand made vessels that have propelled humans from the stone age into the modern world, Vessels for the necessities of life and community, for food, water and storage. We still use it. We feel connected with the Earth and each other every time our hands touch it.
I became addicted to the medium and had the good fortune to be invited to work in the studios of some very talented professional potters who were first my teachers, and later became close friends. After a time, I stopped taking classes and joined some of those same potters in our own studio. During those years, I explored different ways to hand build, multiple firing techniques, and created both decorative and functional pieces. I particularly enjoyed building with coils, and I embraced an exposed coil style of handbuilding that I used for many years. I loved painting with bright commercial glazes and then Raku firing them, smoking the pieces to enhance the contrast between color and darkness, shiny and matte. I showed some work in local festivals and in our own studio shows. I had a blast. And then one day I stopped doing it completely.
Why did I leave it? The answer to that might be a book unto itself, because as we all know, interests and life take natural twists and turns.
Briefly, my sabbatical from clay was a time to explore…things that ended up, at least in my mind, being oddly related to clay in some form or another. Getting my hands into organic gardening and the organic and sustainable food movement, cooking my own food more frequently and creating new recipes, taking some time to paint watercolors, finding that I enjoy writing. But what I firmly do believe about our existence in this world is that we are, inexorably, pulled towards—or back to—the things we are meant to do. And resistance is futile. So now, 10 years later, I’m embracing clay once more. And I’m so excited about it that I wanted to share!
Don’t worry. I’m not changing anything…I’m still a professional graphic designer, I still love cooking and blogging about food, and will still be doing and enjoying those things. But I know now it’s time to return to clay because I love it, too, and I’ve really missed it.
So how on earth does all this talk of clay tie into this food blog? The premise of this blog is: Bits and Breadcrumbs: Where all trails lead to good food. Some of you may remember a post I did year before last. It was the holiday season and I mentioned some fellow artists and showed you their postcards for their holiday shows and sales. I also mentioned my Arty Artichoke Dip that I used to make sometimes for our grand pot luck Raku events at Callanwolde, and also for our studio shows when I was a potter. Those pot lucks and the signature dishes that showed up there were famous—and still are—so you’ll be hearing more about them in the future. See? Trails to more good food via clay. Food and art have always gone together, and every opening I go to seems to also be a big food event as well as a showcase for the art. After all, the term “starving artist” has more than one meaning!
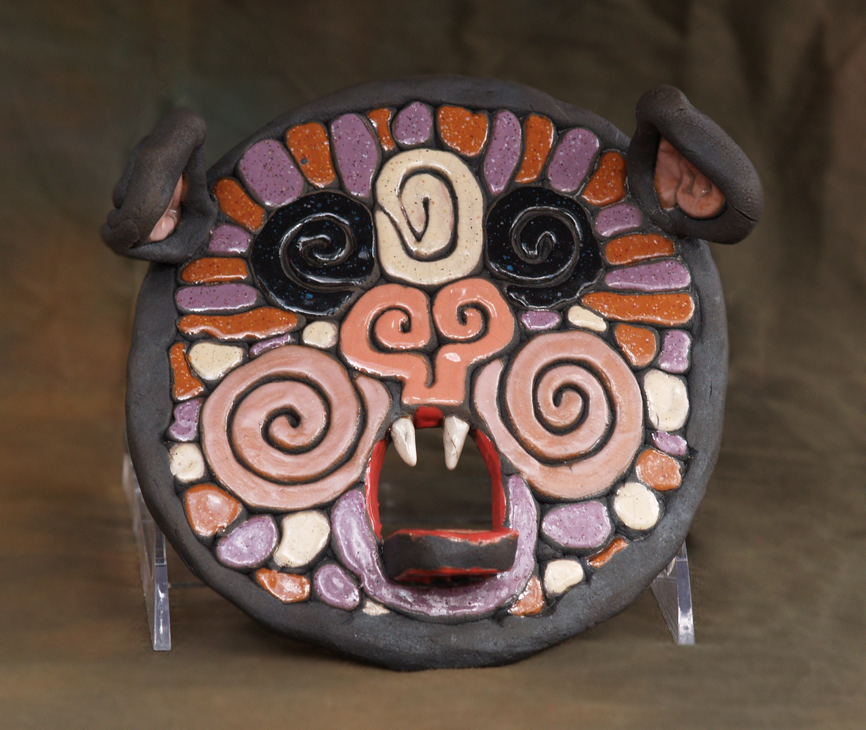
Additionally, some of the comments I received on that same post were requests to see some of my work, but at that time, I didn’t have anything shot in a digital format since I hadn’t been working in clay for so long. In truth, much of my work from those years now resides in other people’s personal collections, and my only reference is still in slide form. But I do happen to have an inventory of the pieces left from my last studio show that I have now shot. So…..drum roll, please. I introduce you to my other persona: Mirthful Mudslinger.
All the images you see here today were hand built by me, and are currently featured items on my new Etsy store. These items are decorative and decoratively functional, and I think you’ll find them interesting. What I really hope is that you’ll stay tuned for the new work, which will be coming very shortly. I have lots of ideas I want to explore, and there will definitely be some food-related and food-safe pieces, too. See that clay-food connection?
After today’s post, I may occasionally interrupt this cooking broadcast to update you with new work I think you might like to see, directing you to my Etsy gallery which you can find right now by clicking here: Mirthful Mudslinger. I’d also really, really love it if you’d take a moment to “Like” Mirthful Mudslinger on Facebook by clicking here and then the “like” button on the page, which will provide you with a quicker way to see the new work as soon as it’s uploaded to the store, if you follow Facebook.
And that’s my new adventure, folks! Thanks for reading this long post. I hope you’ve enjoyed today’s little foray into another direction, and look for me to be back to our regular programming on the next post! Hopefully by then I will have made my new Spring header, too. Meanwhile, may you have a truly Mirthful day!
*****
Note: If you live in the Atlanta metro area there are 3 wonderful resources in which to explore the world of clay on a community level. Check out Callanwolde Fine Arts Center-my alma mater, so to speak, and where I know the fine clay studio director and a good many of the equally fine current instructors, with classes in handbuilding and throwing, assistantships, and many firing options including electric, gas, salt, soda and Raku; Abernathy Arts Center-great instructors, handbuilding and throwing classes with multiple firing methods available including Raku; MudFire-an open clay studio facility by membership with a gallery, also has many firing options including electric, gas and Raku.
If you are interested in purchasing any items seen here and reside in the U.S., please go to the Etsy store at the link above. If you live outside the U.S. and are interested in purchasing an item shown here or on Etsy, please contact me directly. I am currently not shipping outside the U.S. via Etsy.
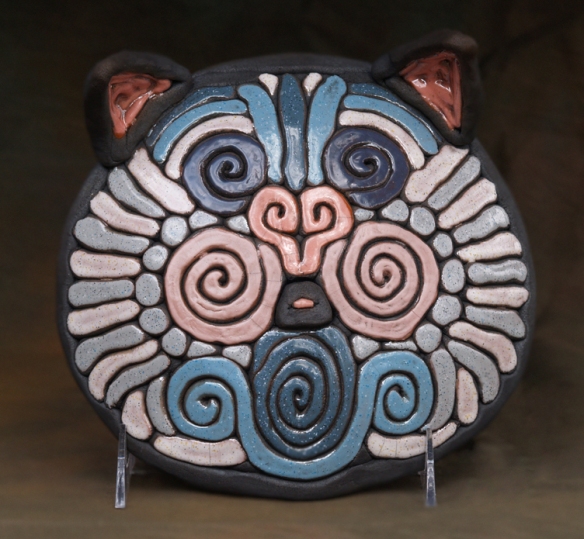
CATS
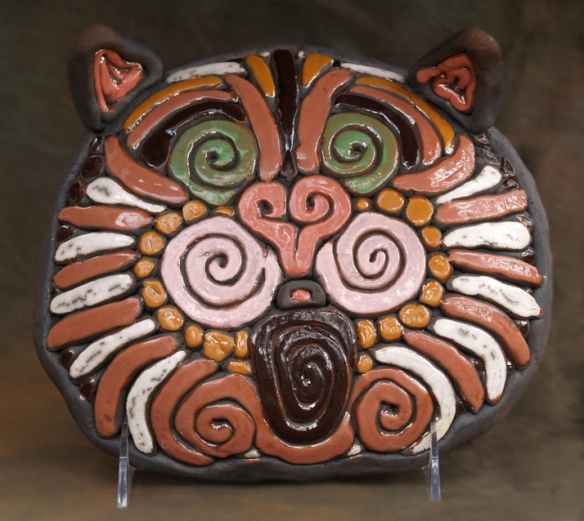
Terracotta Tabby Cat
Blue Tabby Cat
*****
Dogs

Small Puppy Dog No. 1
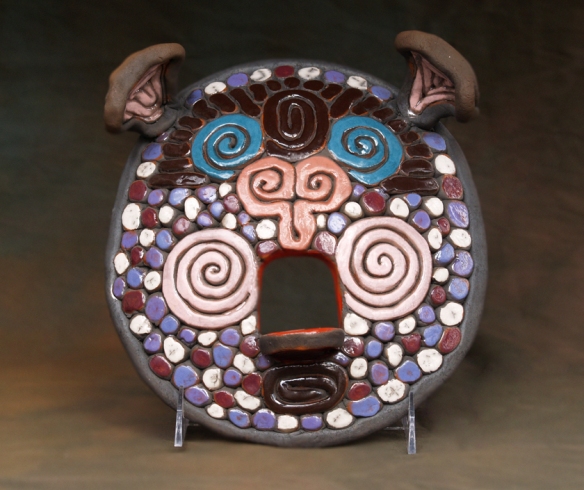
Big Blue Dog No. 2
*****
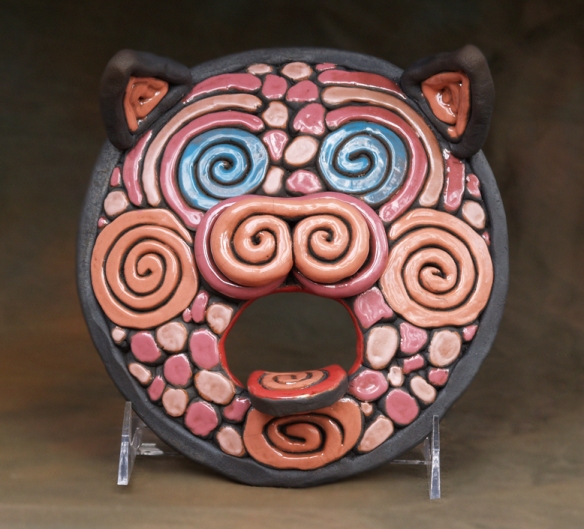
Pigs
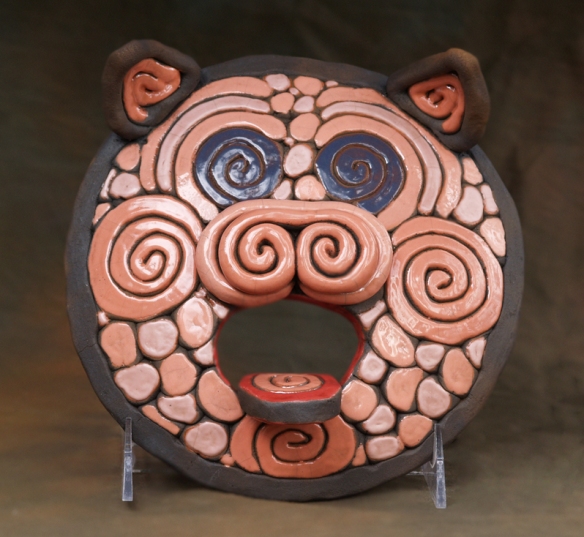
Pink Piggy No. 1
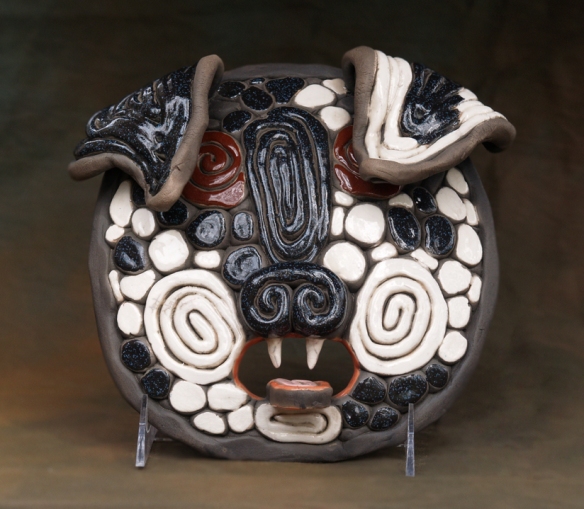
Spotted Trotter
Pink Piggy No. 2
*****
Fish
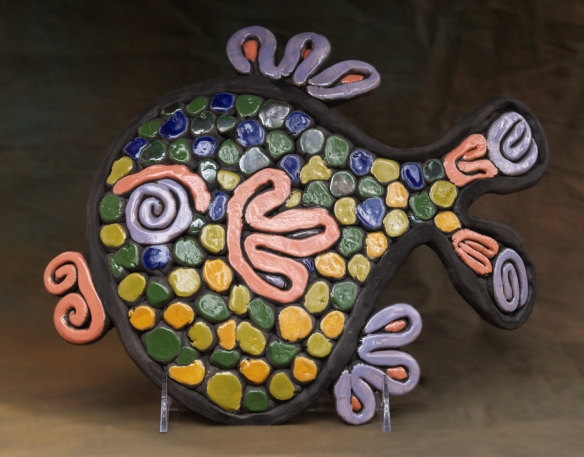
Big Tuna
*****
Tile Trivets
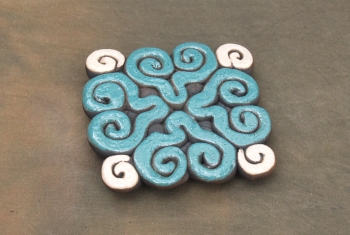
Teal and Sand Trivet
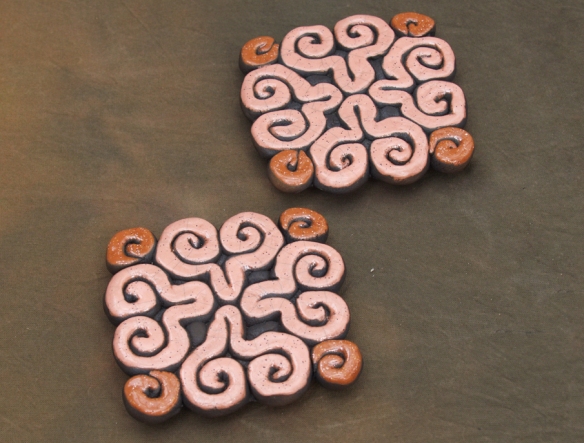
Pink and Terracotta Trivet Pair

Pink and Sand Raku Trivet
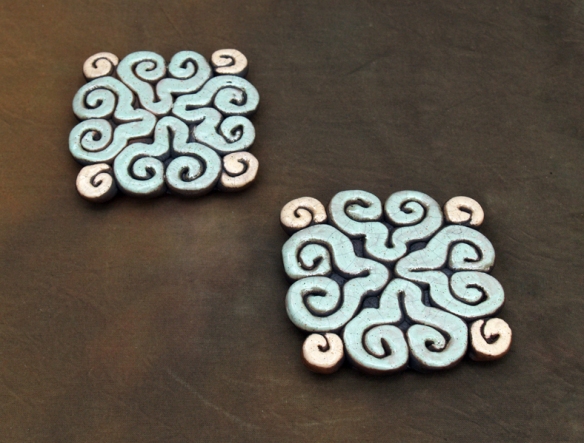
Seafoam and Sand Trivet Pair
*****