
I could eat this every day.
While our neighbors to the north are digging through snow, we’ve had warmer temps and rain, rain and more rain down here in the South. Not that I’m complaining because it’s so good for the garden. However, there’s enough of a chill in the air to make you want something warming and comforting for dinner…wintery comfort food, in other words.

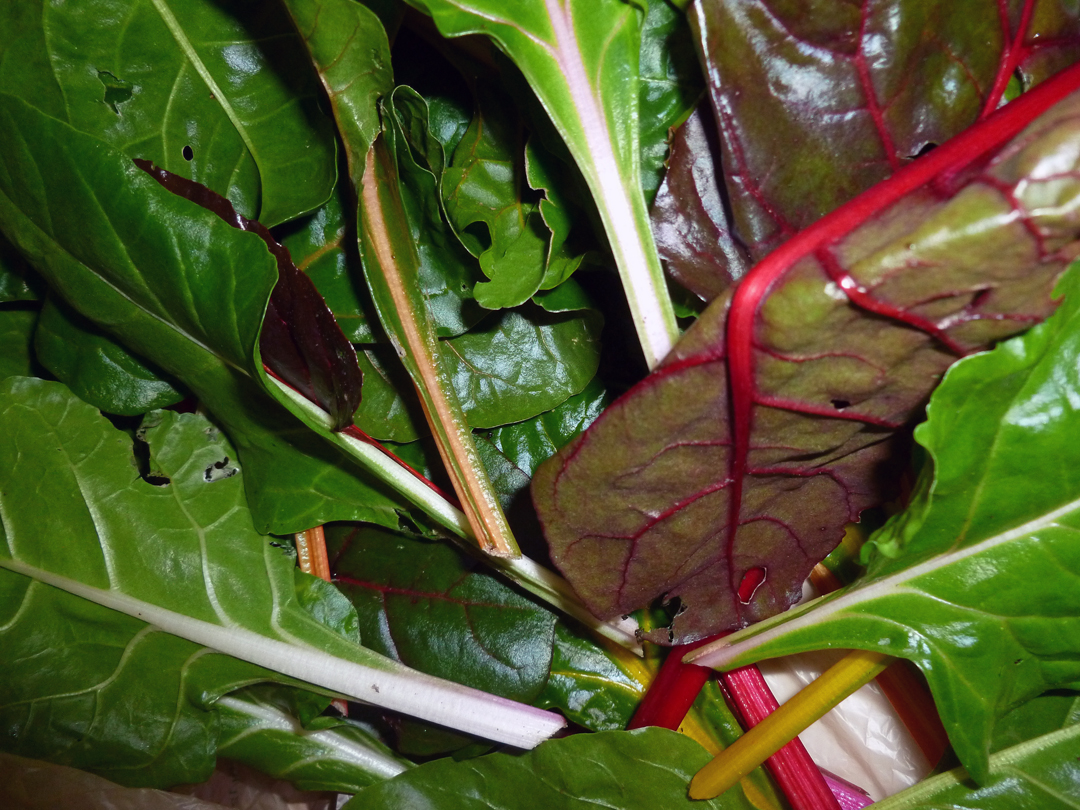
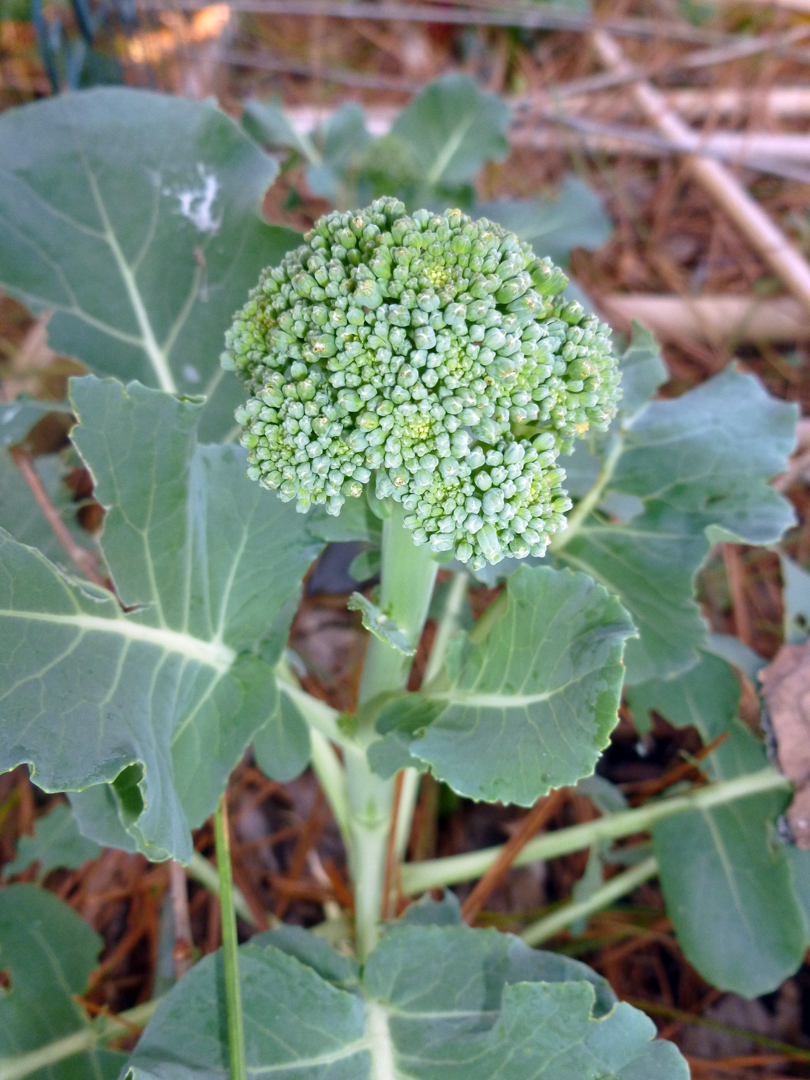
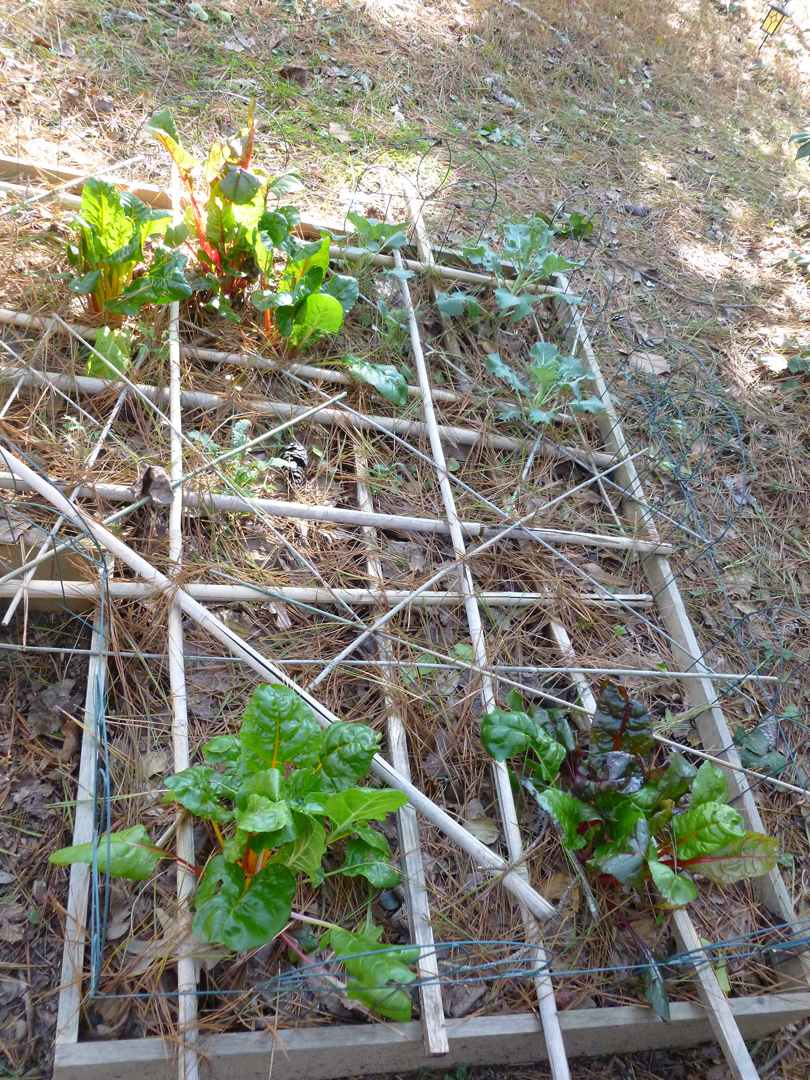
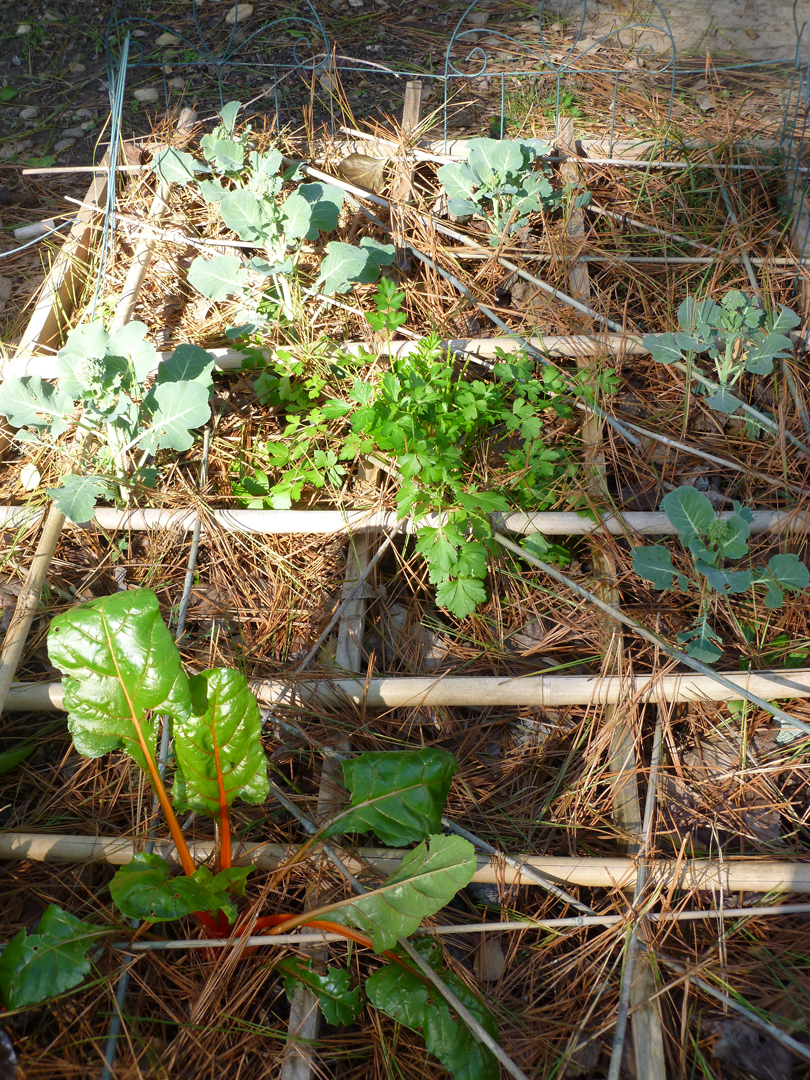
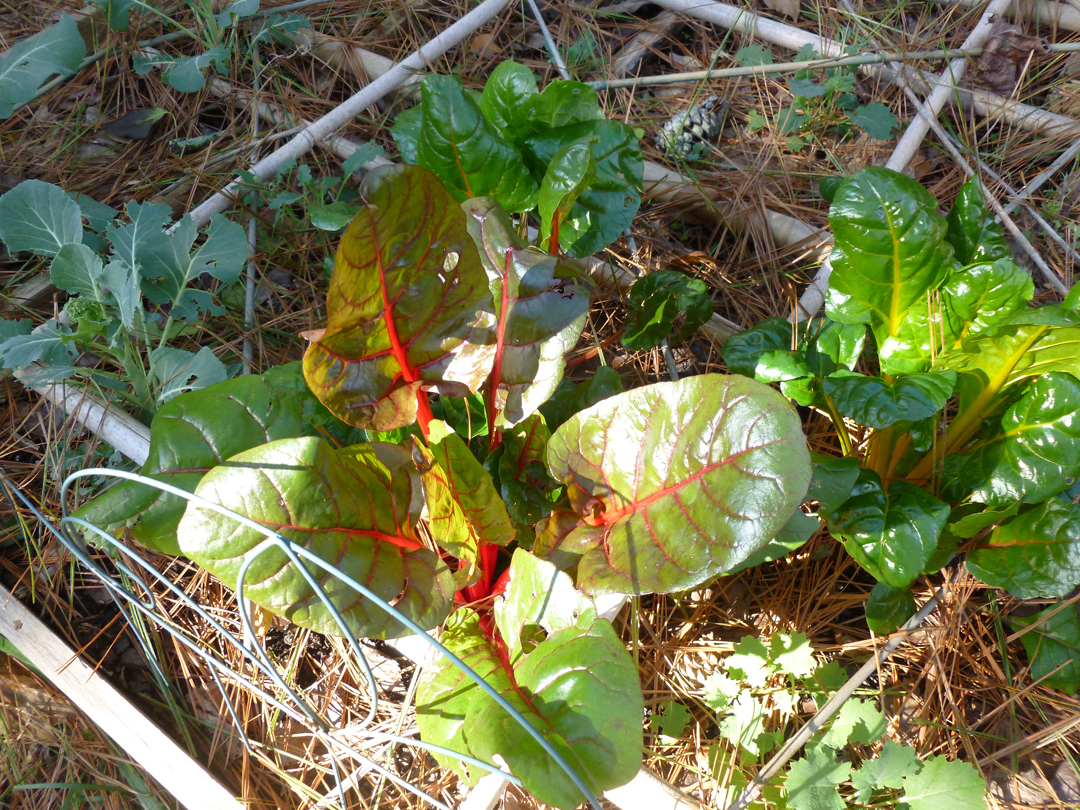
Not much to harvest in the broccoli and chives category, but still nice to have something from the garden this time of year.
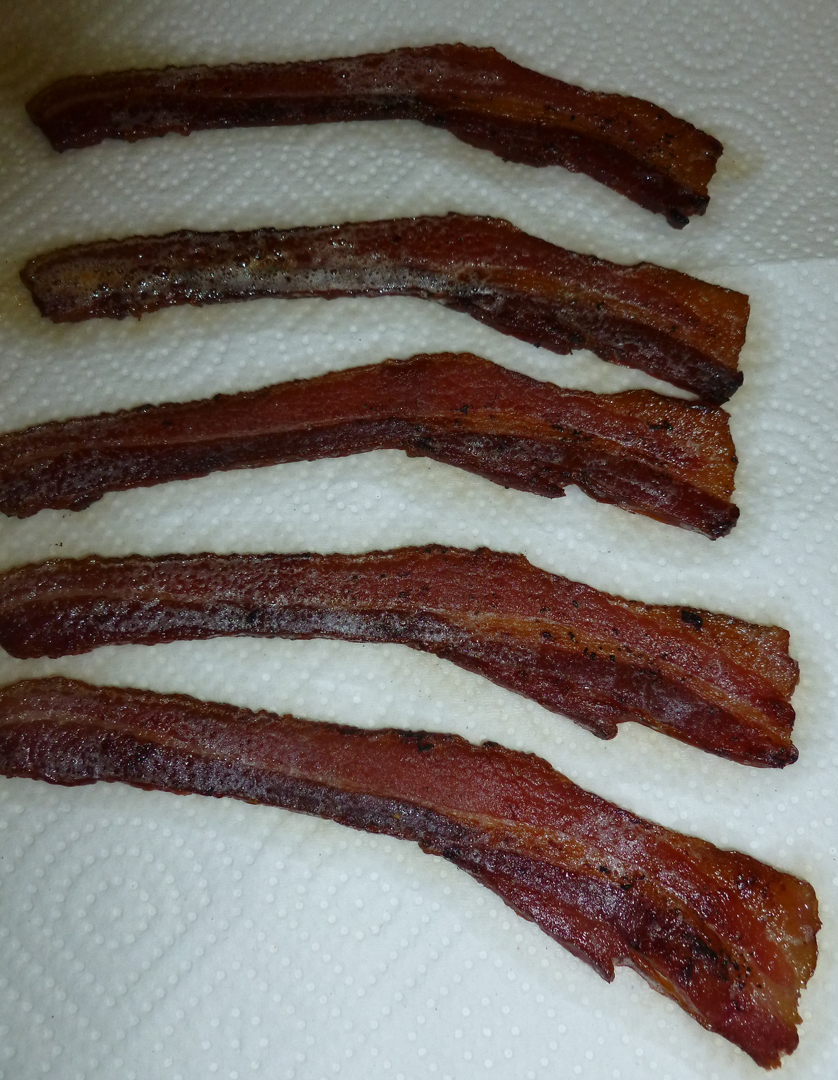
The broccoli harvest from my little winter garden was almost laughable, it was so small. There are still some babies on the stalks so I may see more before it’s all said and done, but for the time being…about 3 or 4 bites worth! I wanted to combo it with something where we both could enjoy its flavor, even if there wasn’t enough for a side dish, and that’s how I came up with this lovely chowder. It’s rich without being too heavy, and you can easily omit the bacon for a vegetarian option, if you want or need to do so. You just can’t go wrong with anything that combines roasted potatoes, broccoli, sweet corn, onions, and a creamy base topped with a little sprinkle of bacon for good measure. You just can’t!
Happy Valentine’s Day!
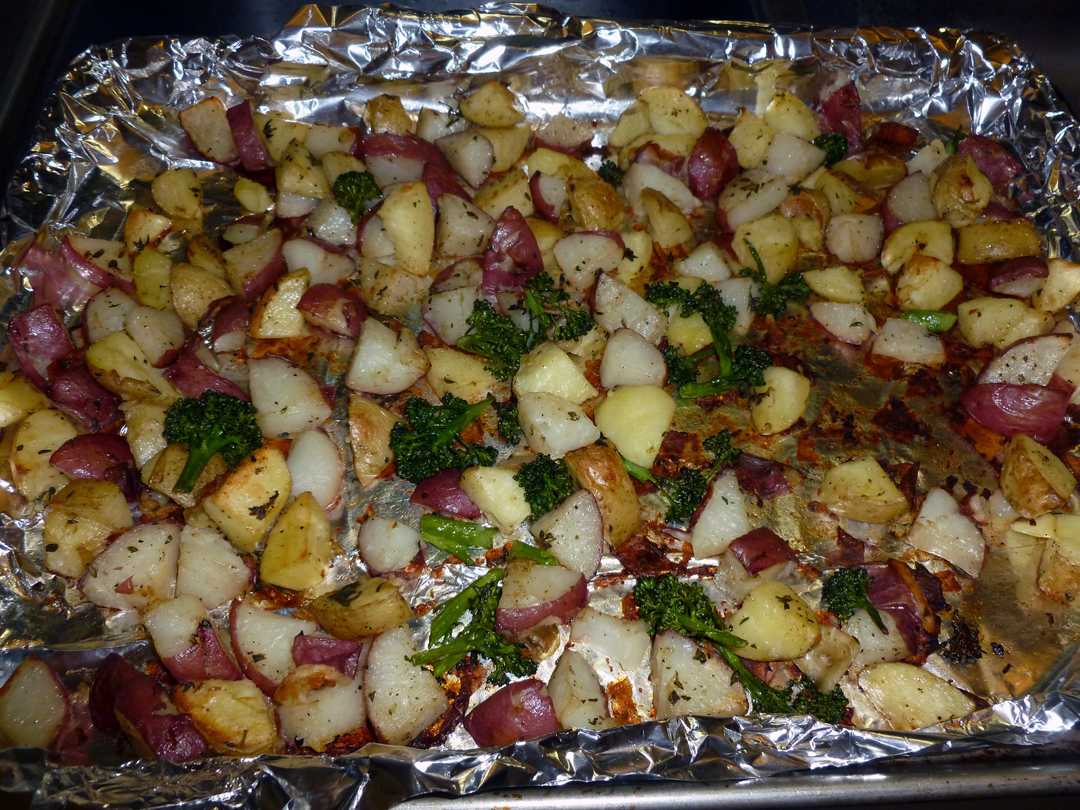
Roasting the potatoes and broccoli adds a ton of depth and flavor to this chowder. Leaving the skins on the potatoes adds a rustic touch!
Rustic Roasted Potato, Broccoli and Corn Chowder
Serves 6
1 lb. red skinned potatoes, washed, scrubbed and cut into bite sized pieces, skin on
1 lb. Yukon gold potatoes, washed, scrubbed and cut into bite sized pieces, skin on
2 cups broccoli florets (I just used my smaller amount, but 2 cups is better!)
1 Tablespoon olive oil + 1 teaspoon
Kosher salt and freshly black ground pepper to taste
3 Tablespoons fresh thyme leaves, divided
1 large sweet onion, chopped (1 1/2 cups)
2 Tablespoons unsalted butter
2 Tablespoons flour
4 cups 1% milk
1/2 cup cream
1 1/2 cups low sodium chicken stock, preferably homemade
2 cups frozen corn kernels
1 Tablespoon fresh chives, minced
1/8 teaspoon cayenne pepper
1 1/2 teaspoons kosher salt
A few grinds of black pepper
(Optional) Garnish of 3 slices of applewood smoked bacon, cooked until crisp, drained and set aside
Cover a cookie sheet in foil and grease it with a little olive oil. Preheat the oven to 375 degrees F. Place the cut potatoes on the foil and toss them with the 1 tablespoon of olive oil, some kosher salt and pepper and 1 tablespoon of the thyme. Roast them in the oven for about 15 minutes, then give them a stir, then roast them for about 8 more minutes, or until the potatoes are starting to become tender when pricked with a fork and beginning to brown. Toss the broccoli florets in 1 teaspoon of oil and add them to the potatoes, then roast another 6-8 minutes. Remove from the oven and set aside.
While the potatoes and broccoli are roasting, melt the butter in the bottom of a dutch oven over medium heat. Add the onion and cook until it’s translucent, about 5 minutes. Add the flour to the butter and onion and cook the flour, stirring constantly, for about a minute or two, then add the milk slowly, stirring, then the cream, chicken stock and corn. Add the roasted potatoes and broccoli to the pot, then the chives, remaining thyme, cayenne pepper and salt, and bring to a simmer. Allow the chowder to cook for about 10 minutes, stirring occasionally. Taste for seasoning, adding a few grinds of black pepper. Serve hot in bowls and crumble 1/2 slice of bacon on top of each serving, if desired.