Kicked back watching the fisherman on Lake Winfield Scott.
The longer and hotter days of Spring and Summer always make me feel that it’s time to start lightening up a bit! While I like fall and winter produce and the dishes inspired by those seasons, I do so look forward to this sunny time of year and all the juicy fruits, berries and summer vegetables that come with it. I get very excited anticipating the delicious and more veggie-and-fruit-centric dishes I can make and eat for the next 3 or 4 months.
Recently, my husband and I decided that eating more fruit and veggies during the day, and adding meat and dairy to that with our evening meal, is a great way to help us stay healthy. Mark Bittman*, a respected American food writer, one of my favorite cookbook authors and a columnist with the New York Times, has just published a book to that effect called VB6 (Eat Vegan Before 6). In the book, he proposes that eating a mostly plant-based diet can have massive health benefits for people and the planet, and his sustainable approach for achieving this goal is to eat no animal products or by-products before 6 p.m., then eat whatever you want after that. Of course there’s a bit more to it, but that’s the concept, plain and simple. If you find this idea as intriguing as I did, you can read more about his strategy in his book or on his website. We all know that eating plenty of vegetables, fruits and whole grains is good for our bodies and may aid in maintaining our weight or even losing some, so spending two-thirds of my eating day focused on that idea as a habit, then getting my cheese and/or meat fix at dinner—possibly with a dessert or an adult beverage—sounds like a win-win situation to me!

Getting enough sleep is important, too, as is rolling around on ones’ back.
Perhaps what I like best about Mr. Bittman’s sensible approach is that he recognizes the fact that we all know we will stray sometimes…like when you’re on vacation or have circumstances where you just can’t eat this way for a day, or a week. Or you may find that you stray all the time because you just can’t live without dairy in your coffee and nut milk doesn’t do it for you. And that’s okay, it’s a personal choice and part of enjoying your life and food, in general. My take away from all of this is that it’s something I can easily enjoy doing, something I think I can live with and hopefully enjoy some health benefits in the process.
All this to say that you may, or may not, notice a slight sea-change to the recipes featured on this blog. In fact I think that mostly you won’t notice much change, other than perhaps a higher fruit and veggie-to-meat ratio within certain dishes as time goes on.
Unless, of course, we are on vacation, in which case all bets are off!
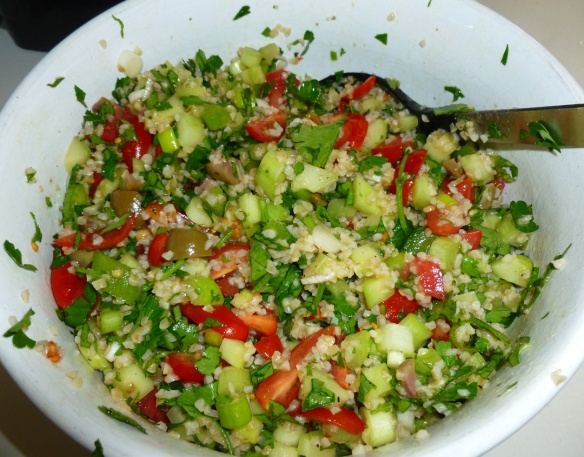
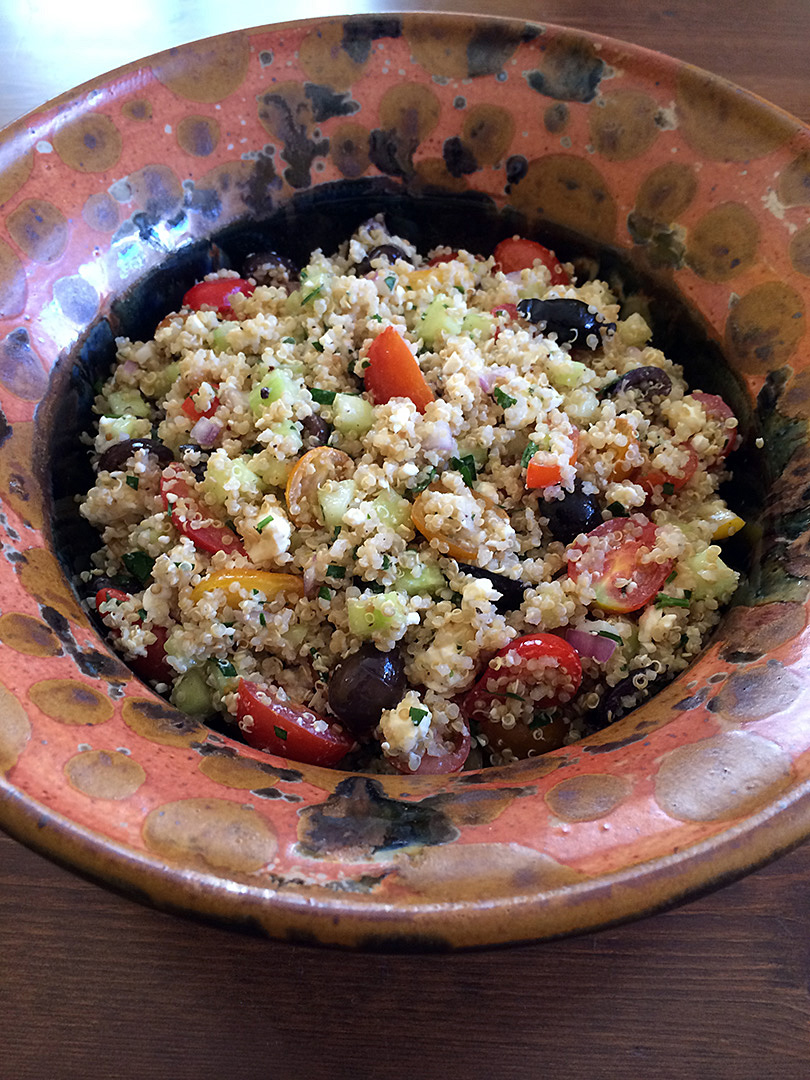
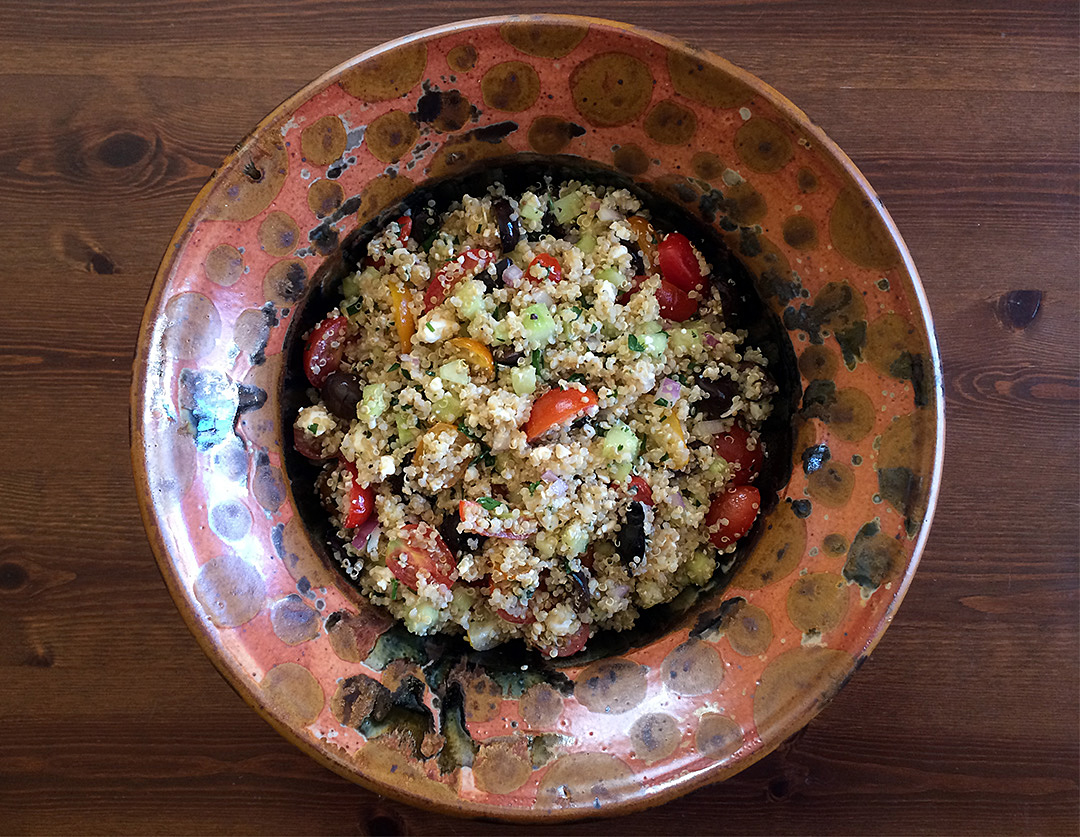
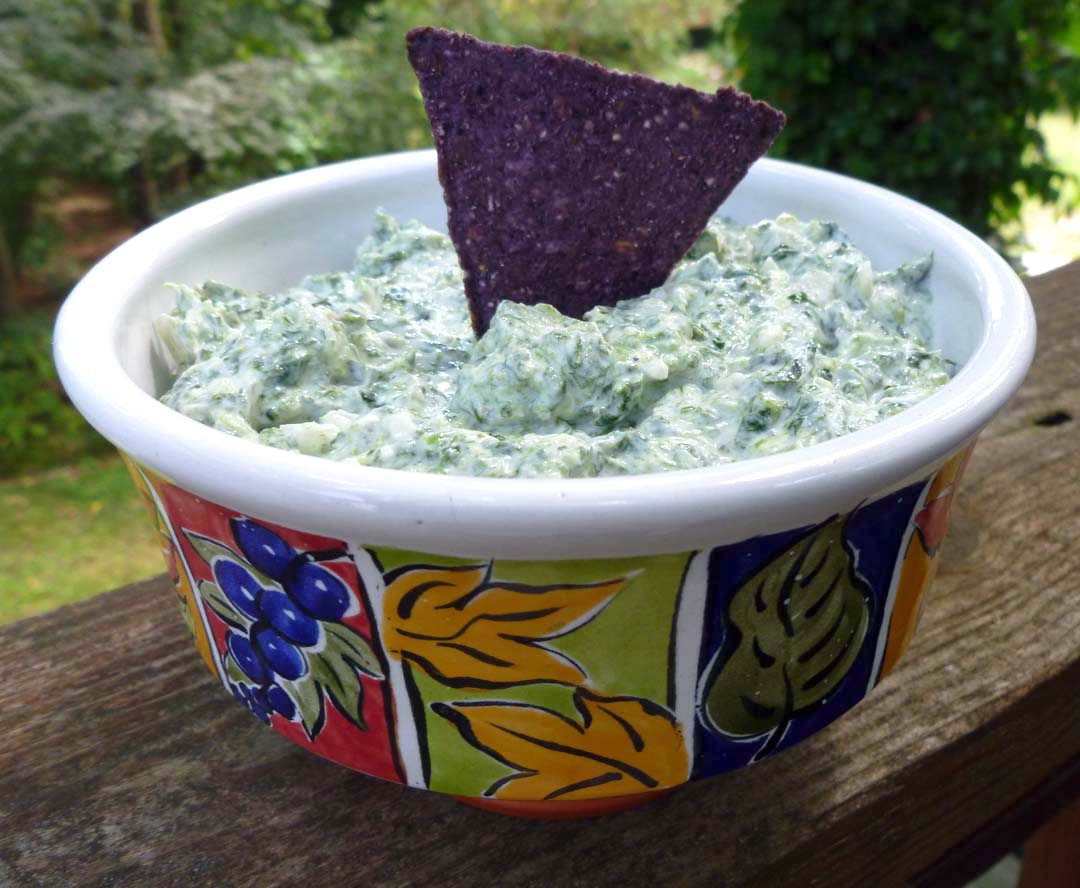
So vibrantly colored…and vibrantly flavored, too!
Today I’m sharing a version of the universally beloved Tabbouleh salad, for which everyone has their own variation. This one is slightly adapted from a Mark Bittman recipe and it’s terrific for lunch or dinner, has lots of flavor, texture and crunch. We took this on our annual June mountain trip for my husband’s birthday this past weekend—along with some cheese and sausages of course—and enjoyed it picnic-style while lounging near Lake Winfield Scott in North Georgia. Add some fish or meat to this dish if you like, but I generally prefer my Tabbouleh either straight up as a salad, as a component of a mezze platter or as a side to a meat, chicken or fish entree. Regardless of how you choose to eat this, I hope you enjoy.
*Please Note: I am not promoting Mark Bittman, his book VB6, or being compensated to mention either one! I’m just sharing because I want to do so.
Tabbouleh (Slightly adapted from Mark Bittman’s recipe)
Makes 4 generous servings
3/4 cup medium-grind bulgur
1/4 cup olive oil
Juice of two juicy lemons
1/2 teaspoon kosher salt or more to taste
1/2 teaspoon freshly ground black pepper or more to taste
1 dry pint grape tomatoes, quartered lengthwise
1 large English cucumber, peeled, seeded and chopped
3 large celery stalks, trimmed and chopped
6 scallions, thinly sliced white and pale green parts, plus 2 tablespoons of green
10 pitted green Greek olives or other, chopped
1 1/2 cups coarsely chopped fresh flat leaf parsley
1 cup coarsely chopped fresh mint
Bring 1 1/2 cups of water to a boil in a small saucepan with a cover. Remove the water from the heat, stir in the bulgur and cover. Allow it to sit until the grain is tender, about 15 minutes. If any water remains in the pot, strain it, pressing on the bulgur to remove as much water as possible. Place the bulgur in a large mixing bowl and toss with the olive oil and lemon juice. Add the salt and pepper and toss again. Add the remaining ingredients and toss well to combine and coat. Taste for seasoning and add a bit more salt and pepper and lemon juice if desired. Serve at room temp. Keeps in the fridge for 3 days.

Thumbelina and Cinderella say Happy Anniversary, Mom, and keep the dairy coming!
And on another important note, this week marks my 2-year blogging Anniversary!
Wow, how the time does fly. I do hope that you all have enjoyed the first two years of this blog, and that you will stay with me for another two and see where the trail leads us next. Here’s a look back at some of my favorite dishes from this past year with links to the recipes, just in case you missed a few. Cheers!
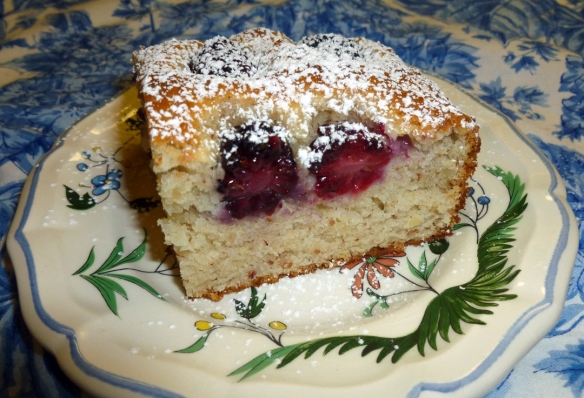
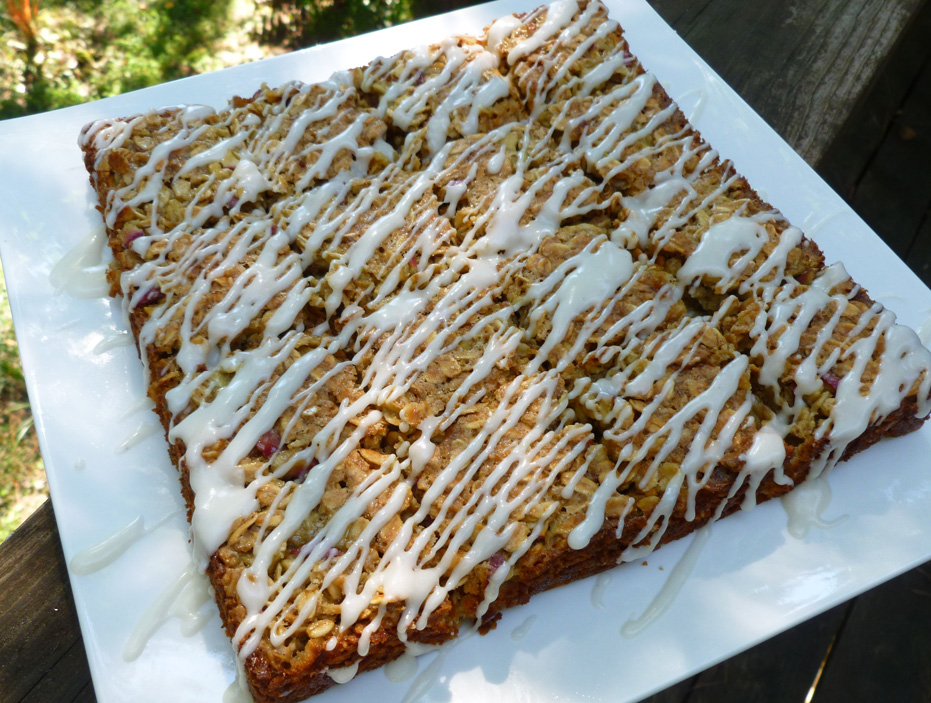
Did I mention this is great for breakfast, too?
Blackberry, Lemon and Almond Snackin’ Cake!
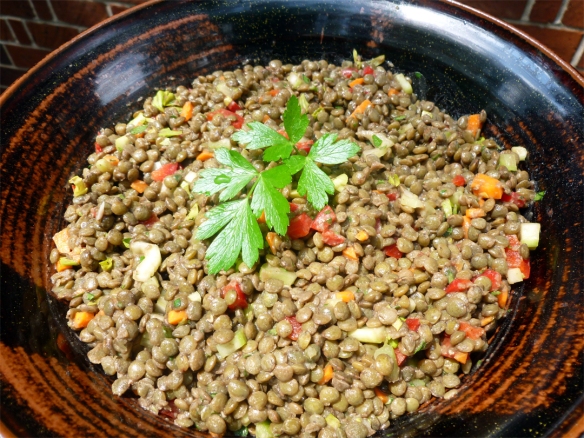
French Lentilicious Salad.

Now THIS is a southern plate of food that makes me grin like a Cheshire Cat!
Firecracker Slaw and Corn with Chipotle butter…perfect for the 4th of July!
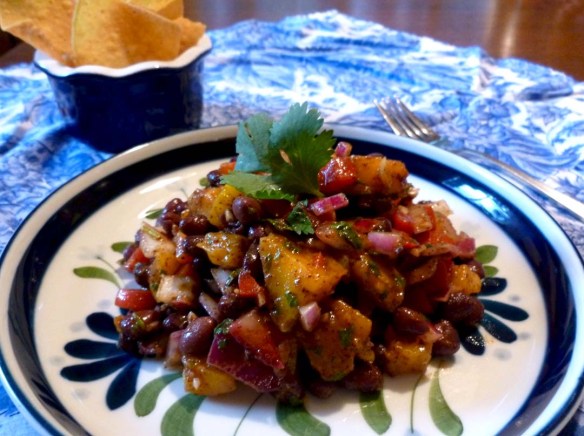
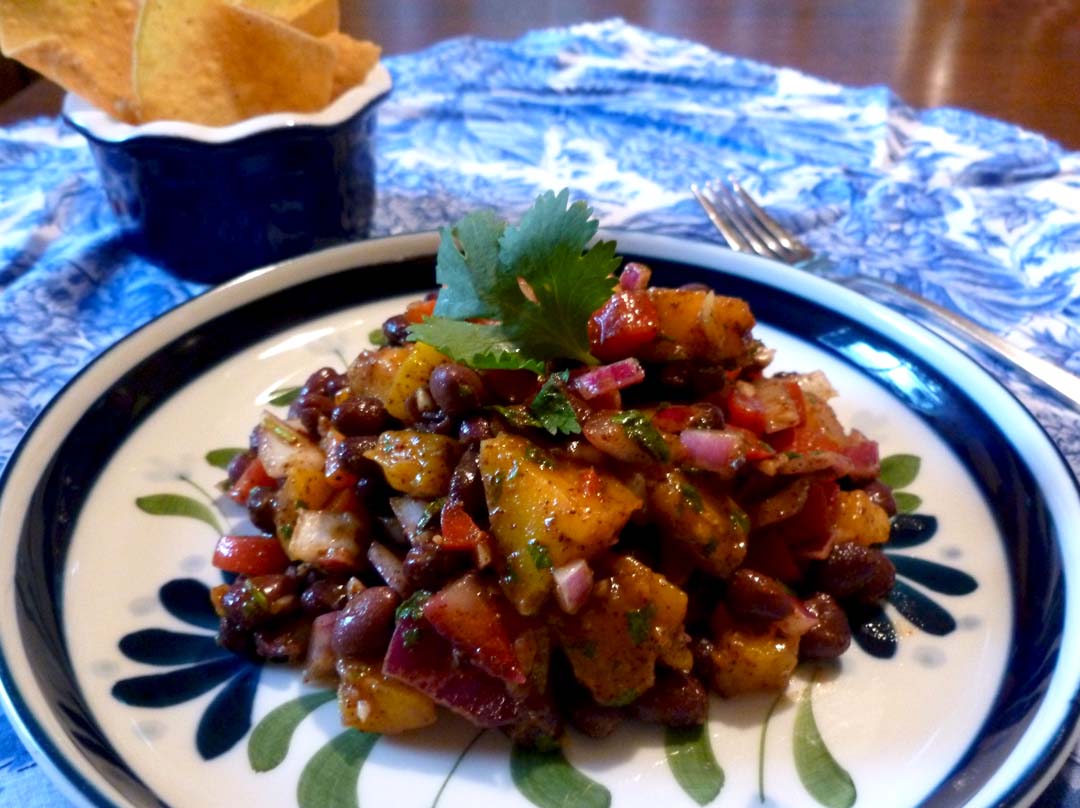
With such a fiesta of color, this dish just has to be good!
The now infamous Betsy’s Famous Black Bean Mango Salad…a pot luck special.

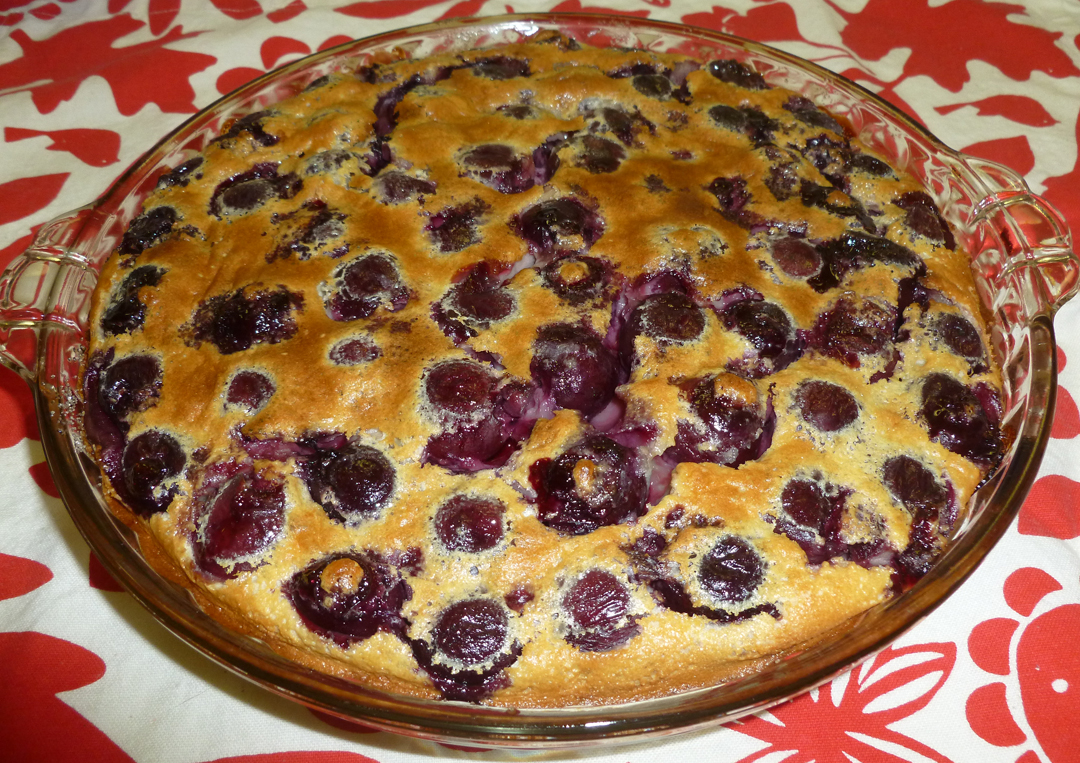
Fresh from the oven, Clafouti is puffed and bubbly!
Julia Child’s classic Clafouti with cherries was a perfect way to celebrate what would have been her 100th birthday.

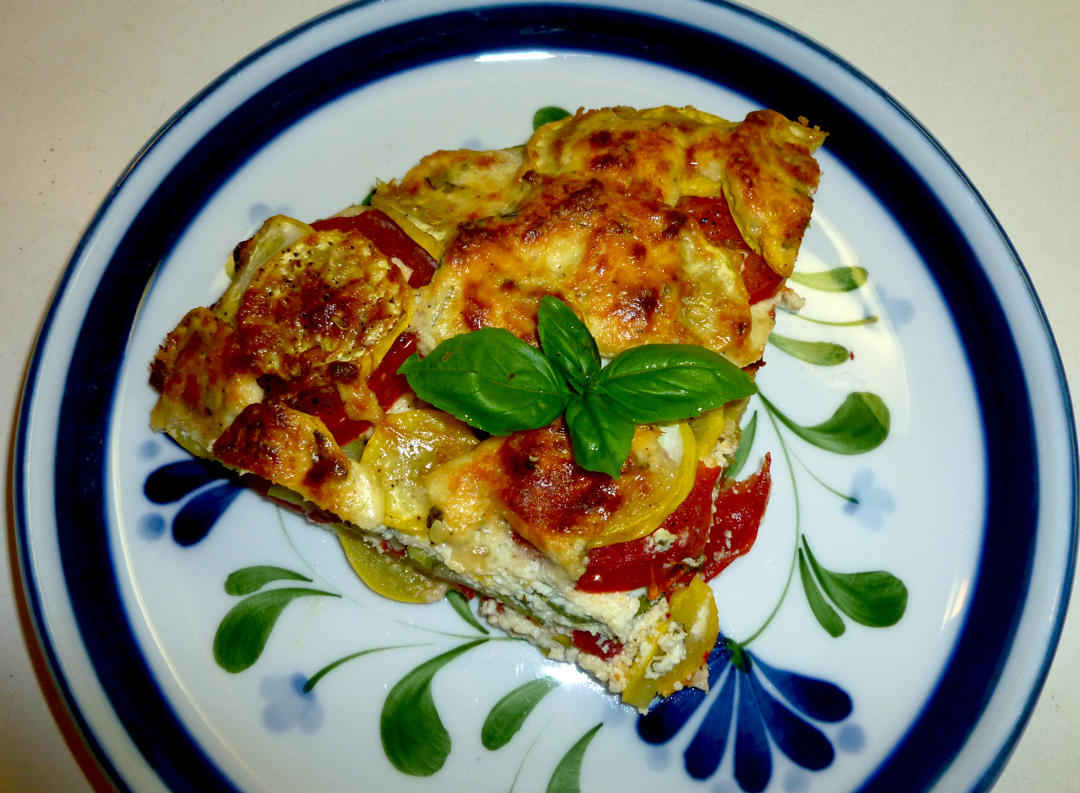
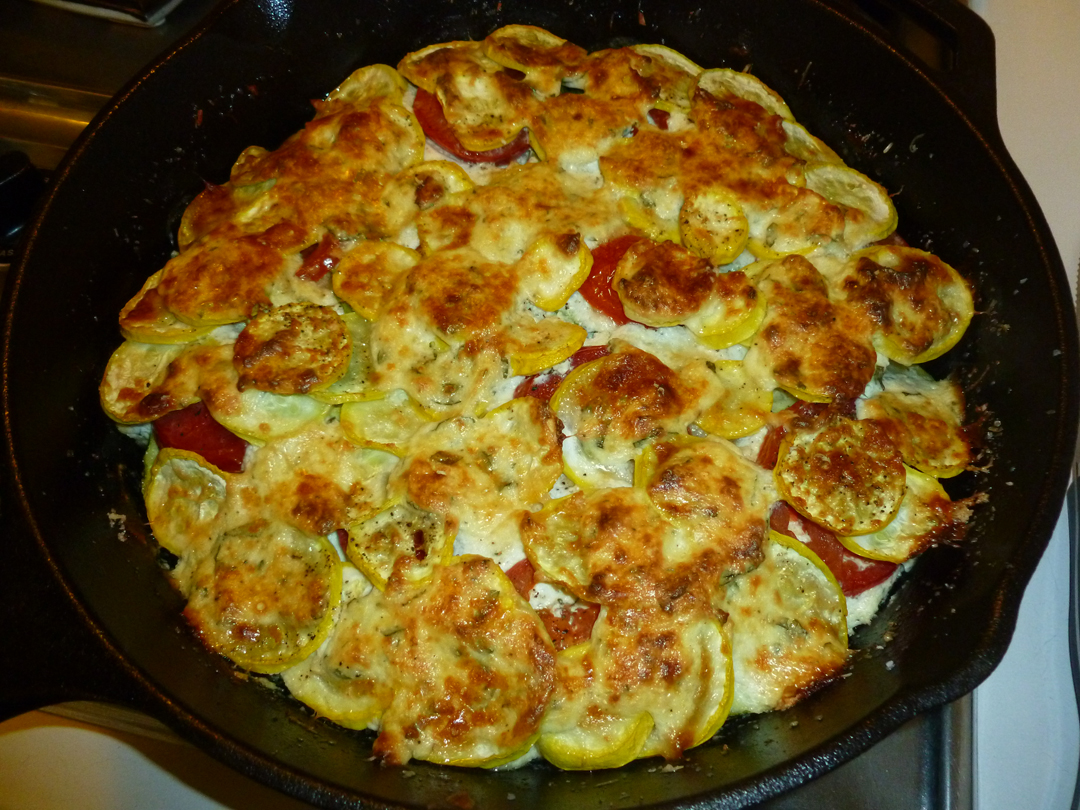
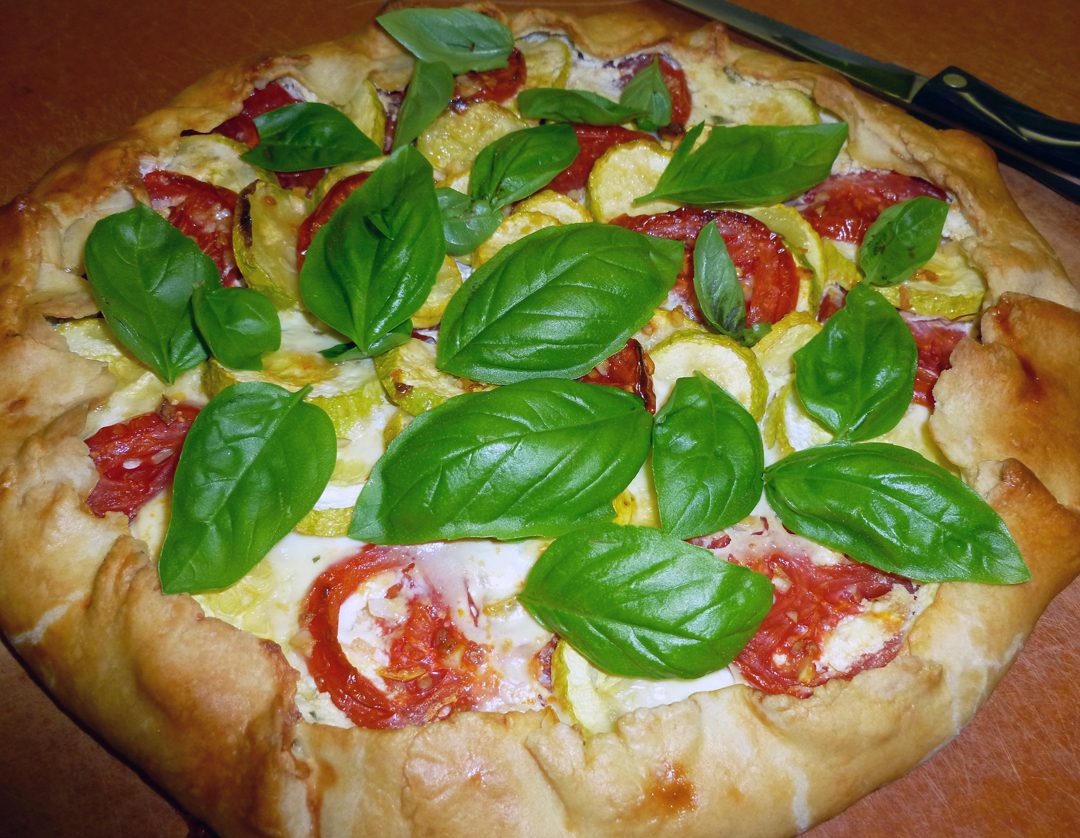
I look at this and all I can think about is making the next one!
This Summer Squash and Tomato Galette features some of my favorite veggies and an olive oil crust to boot.

Betsy’s Retro Cheese Olive Bites and Martha Stewart’s Bacon Wrapped Dates, the MOST pinned recipes from this past year!
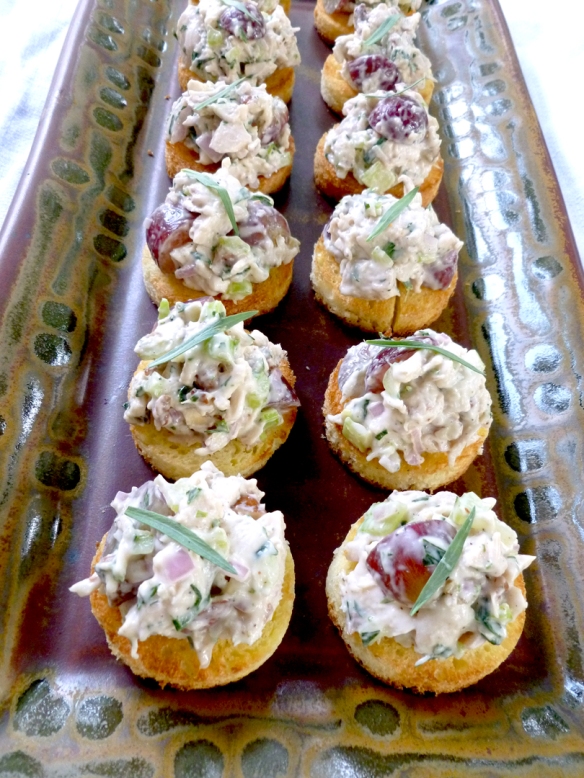
Tarragon Pecan Chicken Salad on Brioche Crostini…need I say more? But I will!
Probably my second most pinned recipe from this past year, Tarragon Pecan Chicken Salad on Brioche Crostini.

The color change of the layers in the Kir Royale are so subtle, they are hard to photograph, but you can see whatever it is, it’s a pretty color in candlelight!
Kir Royale…a very celebratory cocktail.

Almost ready!
Kitchen Sink Sloppy Joes…great for camping!
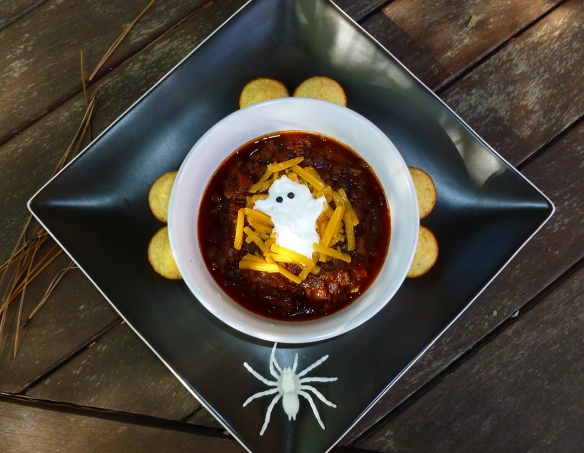
Spooktacular Beef and Italian Sausage Chili is a great dish for Fall…and a little bit scary, too…it’s so delicious.
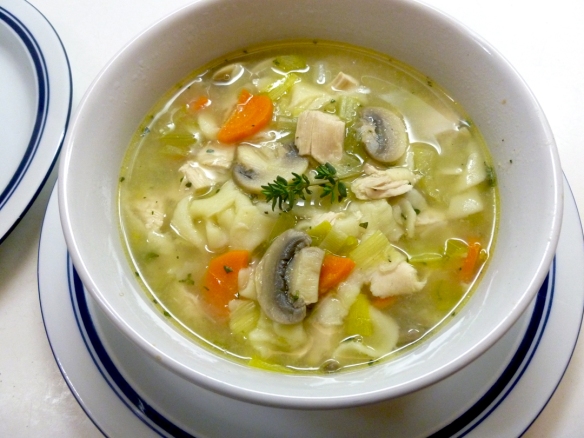
Home-styled comfort from the cold…or a cold!
My homemade Chicken Noodle Soup, for whatever ails you.

These are a classic!
My mom’s fantastic Drop Sugar Cookies are a traditional holiday fave.
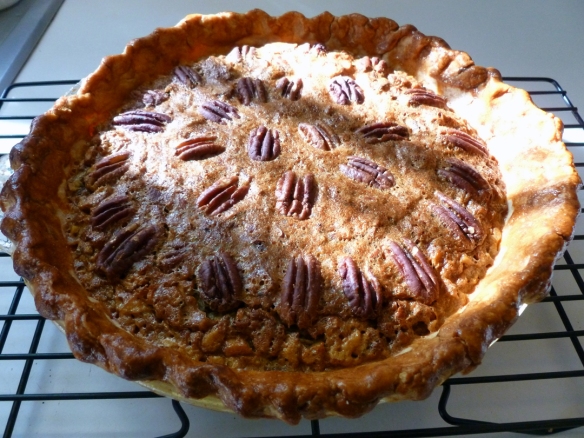
Is there anything more inviting than a freshly baked pie? No, perhaps not.
Chocolate Bourbon Pecan Pie…well, there you go!
*****

 I’m a bit late posting and therefore late in wishing you all a Happy Spring! Yes, has arrived for some of us, and maybe not so much for others. We’re blooming here, in between the freezing temps and then zooming up to the high 70’s. It is still March after all.